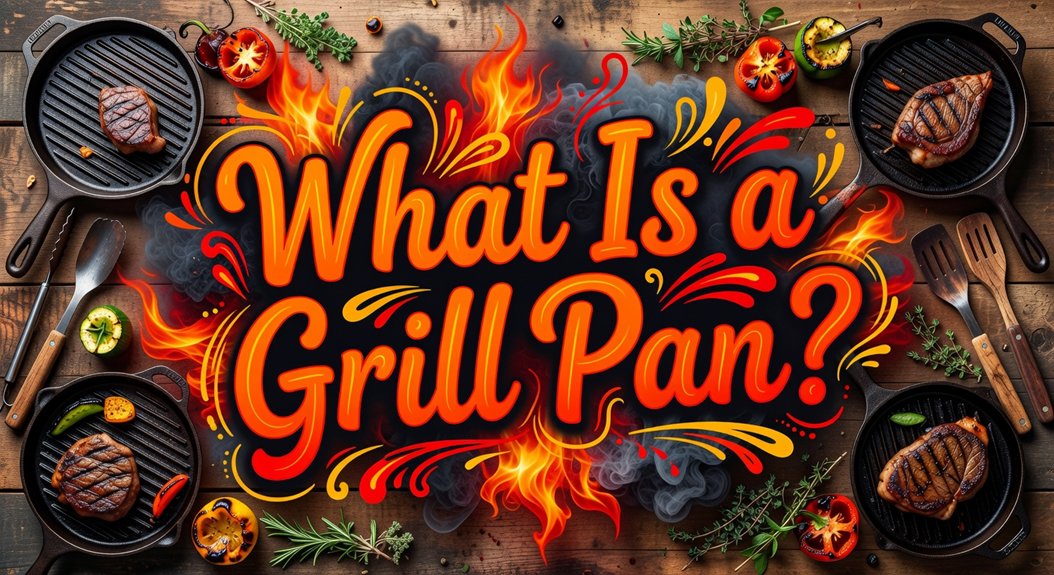
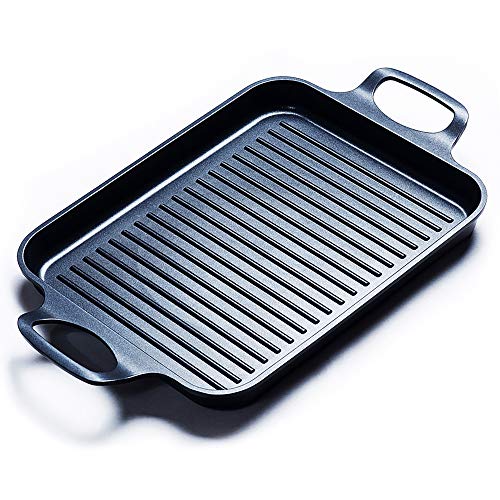
A grill pan is a sturdy skillet with raised ridges that, once you pre‑heat it, sears your food into crisp, charred lines while letting fat drip into the channels below. The ridges press into meat, veggies, or seafood, creating those classic grill marks and a smoky flavor without any outside flame. You can use cast iron, non‑stick, aluminum, stainless steel, or enameled versions, each offering different heat retention and cleanup traits. Keep it seasoned and you’ll get indoor‑grill results on any compatible stovetop—more tips await if you keep going.
What Exactly Is a Grill Pan and How It Works
When you place a grill pan on a hot stovetop, its raised ridges instantly turn a simple skillet into a miniature outdoor grill, searing meat and vegetables while letting fat drip away into the channels below. You’ll notice the sizzle as the ridges contact the food, creating charred lines that mimic open‑flame grilling. Key heat considerations include using a pan that retains heat—cast iron or multi‑layer steel work best—so the ridges stay hot enough to sear without burning. Follow pan preheating guidelines: start on low heat for a minute, then raise to medium‑high for 3–8 minutes until the surface shimmers. The channels channel grease, preventing sogginess and delivering that dry‑heat, grilled flavor indoors. Cast iron pans also require seasoning to maintain their non‑stick surface and durability. Cast iron’s superior heat retention makes it an ideal choice for achieving professional-grade grilling results at home compared to other cookware materials.
Design Features That Create Authentic Grill Marks
The ridges that turn a plain skillet into a grill pan do more than channel grease—they shape the very lines that define a perfect grill mark. When tall, raised ridges press directly into meat or vegetables, they sear the surface, creating distinct charring patterns that look like miniature constellations. A diagonal ridge layout lets you align food north‑south or east‑west, while the cross‑hatch arrangement fills the pan with uniform, bold marks. Because the ridges retain heat, they stay scorching hot after a medium‑high preheat, delivering a flavorful smoke infusion that seeps into every crevice. Valleys between ridges collect seasoning, and polished peaks wipe clean easily, letting you enjoy that outdoor‑grill sizzle indoors without sacrificing cleanup. The design also includes optimal ridge spacing to maximize char marks while preserving a usable cooking surface. Different material composition options affect how efficiently ridges distribute and retain heat during cooking.
Material Guide: Cast Iron, Non‑Stick, Aluminum, Stainless Steel, Enameled
Choosing the right material for your grill pan sets the tone for every sizzle and sear you’ll create. Cast iron offers rock‑solid material durability, holding heat like a furnace and delivering a caramelized crust on steaks and veggies. Its natural non‑stick surface emerges after seasoning, and you can toss it into the oven without fear. Non‑stick pans, coated with Thermolon ceramic, heat quickly, letting you glide a spatula over delicate eggs or fish while the PFOA‑free surface keeps flavors pure. Aluminum, lightweight and die‑cast, spreads warmth evenly, perfect for rapid stir‑fry and low‑oil cooking. Stainless steel shines with rust‑resistant durability, non‑reactive walls, and multi‑ply construction that balances heat for sauces and sears alike; grades like 304 stainless steel are particularly valued for their corrosion resistance and ability to withstand high temperatures. Enameled cast iron blends the heat retention of iron with a glossy, easy‑clean finish, adding visual flair while preserving unique cooking capabilities across all heat sources. The GreenPan Prime Midnight’s bolted‑on steel handle provides extra stability during high‑heat searing.

Steakhouse Sear At Home: The Lodge Square Cast Iron Grill Pan delivers high-heat searing and bold grill marks while channeling excess grease away

Double Burner Configuration: The Lodge Double Play Reversible Cast Iron Grill/Griddle covers two burners, offering a generous breakfast grill plate for family breakfasts or meal prep with ease

【2-in-1 Reversible Grill & Griddle】: Unlock a world of recipes with a single reversible griddle pan. One ribbed side creates perfect sear marks on steaks, chops, fish, chicken, and veggies; flip to the smooth side for pancakes, eggs, bacon, burgers, tortillas, and more. Ideal for indoor stovetop or outdoor BBQ
How to Season, Clean, and Maintain Your Grill Pan
A well‑chosen material only gets you halfway; the real magic happens when you season, clean, and maintain your grill pan. First, wipe the interior and exterior with a thin coat of high‑smoke‑point oil—vegetable, avocado, or flaxseed—after heating the pan briefly for better absorption. Preheat your oven to 450‑500°F, place the pan upside down, and bake 45 minutes to an hour, repeating for multiple smoothing seasoning layers. Let it cool inside the oven, then wipe excess oil. For cleaning, mix baking soda and water into a paste, let it sit ten minutes, scrub with vinegar to break down old coating, rinse with warm water, and dry immediately. Lightly oil the hot pan after each use, re‑season when tacky, and avoid harsh soaps or boiling water. To restore neglected pans, repeat the paste‑scrub, dry, oil, and bake cycle, focusing on corners and edges for a uniform, non‑stick surface. Regular re‑seasoning is advised, especially after cleaning or every few months, to maintain the protective layer. Preheat the pan before applying oil to ensure better penetration.
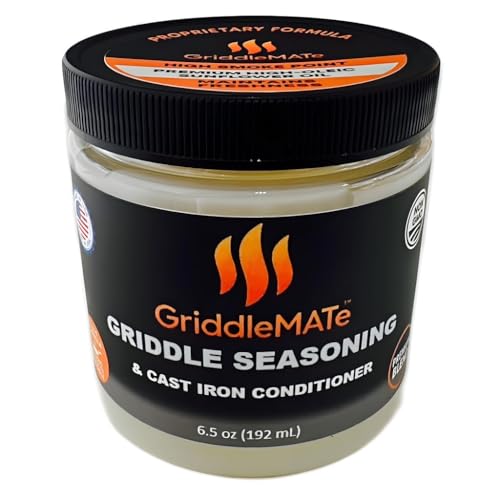
PROPRIETARY FORMULA - Crafted with a unique blend of high-quality ingredients, this proprietary formula is designed to deliver superior seasoning and long-lasting protection for your griddle or cast iron.

Light Buttery Flavor That Elevates Every Meal: Algae Cooking Club Chef-Grade Algae Oil enhances every dish with subtle richness. Its neutral profile makes it ideal for searing, baking, and dressings, transforming everyday meals into gourmet experiences.
Cooktop Compatibility and Usage Tips for Gas, Electric, Induction, and Ceramic
When you place a grill pan on a gas burner, the open flame hugs its flat bottom, letting the heat spread evenly across cast‑iron, stainless steel, or aluminum surfaces; the sizzle of searing meat and the steady glow of the burners create a tactile, responsive cooking experience. On electric ranges, choose a flat‑bottomed pan that matches the burner size; stainless steel or heavy‑duty aluminum will sit flush on the glass surface, while warped carbon steel can cause hot spots. For induction, verify induction compatibility by testing a magnet on the pan’s base—only magnetic cast iron or stainless steel work. Glass cooktop precautions demand a smooth, flat pan to avoid scratching, and you should preheat gently to prevent thermal shock. Adjust the pan’s size to the element, use bridge burners for double‑burner grills, and keep heavier cast‑iron pieces stable on gas. The NS Pro® Ceramic Nonstick option provides a durable, non‑sticking surface that enhances heat distribution and reduces the need for oil. When selecting among different stovetop grill options, consider cooking performance and material quality to ensure the pan meets your specific kitchen needs and cooking style.

Pre-Seasoned & Ready to Use: The Lodge Cast Iron Griddle comes naturally pre-seasoned and ready to use for tortillas, pancakes, and more right from the box

MULTI-PURPOSE COOKING: Perfect for pancakes, tortillas, eggs, and more—griddle anything from breakfast to dinner with ease on this flat cast iron surface.
Excellent Nonstick Performance: 100% PFOA free dual-layer coating for easy release and quick cleanup, dishwasher safe
Top Grill‑Pan Recipes: Steak, Veggies, Seafood, and Quick Meals
Ever wondered how a single grill pan can turn a weekday dinner into a sizzling, restaurant‑quality feast? You’ll heat the pan medium‑high until it smokes, about 465°F, then lay a steak diagonally for bold grill marks. Cook 3‑4 minutes per side for your preferred steak doneness, rotating 90° halfway through the first side for a criss‑cross pattern. Flip with tongs, avoid forks, and sear another 3‑5 minutes. Let the meat rest 5 minutes—ideal steak resting time—to hit 125‑130°F internally. For even more sophisticated results, consider the reverse sear method which infuses steaks with smoke before the final sear. While the steak rests, toss sliced shallots, mushrooms, and spinach in the butter‑slicked ridges, seasoning simply with salt and pepper. For seafood, use the same diagonal technique, 3 minutes each side, lower heat to protect delicate flesh. Quick meals—thin steak or chicken parmesan pasta—finish in under ten minutes, delivering bold flavor and crisp char in one pan.
Why a Grill Pan Makes Indoor Cooking Healthier
You’ll notice the difference instantly: the ridges on a grill pan let excess fat drip away, so the steak stays juicy while the calories drop. As the sizzle rises, the fat pools in a shallow trough, preventing it from soaking back into the meat and keeping the protein lean yet tender. The pan’s hot surface seals flavor quickly, locking in vitamins and minerals that would otherwise leach out. Because you’re not igniting charcoal or gas, the kitchen stays clear of acrid fumes, delivering reduced smoke exposure and improved air quality. Water‑filled drip pans catch runoff, virtually eliminating smoke and protecting eyes and throats. You enjoy a smoky aroma without the health‑hazardous byproducts, making indoor grilling both tasty and safer. A grill pan works equally well for delicate proteins like fish, requiring only quick cooking times to achieve a golden sear. Year‑round grilling is possible regardless of weather conditions.
Common Mistakes to Avoid When Grilling With a Pan
Even if you’ve mastered the sizzle, a few easy‑to‑make mistakes can ruin your grill‑pan experience: you might slap food onto a pan that’s still warming, missing that crisp sear and ending up with soggy sticks. Learning proper preheating techniques means starting on medium‑low, letting the surface climb to a steady 350‑400 °F before you crank up the flame—this prevents warping and sticking. Optimizing temperature management during cooking keeps you from scorching steaks on high while pancakes linger raw; use zone cooking, keep eggs around 300‑325 °F, and never let the pan exceed 500 °F. Overcrowd, flip constantly, or drown the pan in oil, and you’ll lose crust, flavor, and seasoning alike. Cold grill can cause uneven cooking and food sticking. Proper preheating ensures even cooking and helps achieve the desired sear marks on your food.