Warm the grill just enough to loosen food, then pour a little warm water and let it sit. Scrape the surface with a flat‑griddle scraper, applying even pressure to lift debris. Wipe the whole area, sidewalls, and edges with a damp microfiber cloth, avoiding soap to protect the seasoning. For stubborn residue, spread a baking‑soda paste, scrub, and rinse, then dry thoroughly and coat with a thin layer of high‑smoke‑point oil. Keep it dry and oiled after each use to prevent rust and learn more about deeper cleaning methods.
Flat‑Top Construction: Why It Matters for Grill Cleaning
Because a flat‑top’s material dictates how it reacts to heat and moisture, understanding its construction is essential for effective cleaning. You’ll notice that material thickness directly influences heat retention: a 1/4‑inch steel plate holds temperature longer than a 3/16‑inch sheet, while a 3/8‑inch slab maximizes retention at the cost of weight. Stainless‑steel tops, typically austenitic 304, offer moderate heat retention and smooth, non‑porous surfaces that resist food adhesion, reducing scrub time. Ferritic variants like 443 add chromium and molybdenum for extra heat and corrosion resistance. Cast‑iron and carbon‑steel plates retain heat more aggressively, demanding pre‑heating for ideal non‑stick performance. Recognizing these characteristics lets you tailor cleaning routines to the grill’s construction, preventing damage and preserving performance. To maintain your grill’s protective surface, apply oil after use to prevent rust formation and extend the life of your cooking surface. The flat‑top’s even heating ensures that food cooks uniformly across the surface.
Daily Scrape & Grease Management: The 5‑Minute Routine
A quick, five‑minute routine keeps your flat‑top grill in peak condition by combining systematic scraping, targeted grease‑trough cleaning, and immediate wiping while the surface is still warm. First, pour a thin stream of warm water onto the cooking area to loosen debris, then drag the bench scraper from one end to the other with even pressure, preserving surface temperature control and preventing scratches. Next, monitor the grease trap: use a paper towel or damp rag to clear the trough, replace any disposable foil liner, and verify drainage is unobstructed. Finally, while the griddle remains warm, wipe the entire surface, sidewalls, and edges with a fresh damp rag; avoid soap to protect seasoning. This concise workflow eliminates buildup, maintains even heat distribution, and extends grill lifespan. Regular cleaning combined with proper seasoning maintenance will enhance food release and preserve your grill’s non-stick coating. Use heat‑resistant gloves when handling the hot scraper to protect your hands.
Essential Tools & Supplies for Every Cleaning Session
After you finish the five‑minute scrape, grab the tools that make the rest of the job quick and effective. A stainless‑steel scraper tackles large, stuck‑on chunks, while the flat‑griddle scraper clears grease and fine particles. Handle each scraper carefully; proper grip prevents blade damage and guarantees essential tool maintenance. Pair the scraper with a pumice cleaning brick or griddle stone to dissolve stubborn residue without scratching the surface. Follow with a heavy‑duty Scotch‑Brite scouring pad, using the multi‑purpose pad holder for steady pressure. Wipe the area with a damp microfiber cloth or a Scotch‑Brite squeegee to remove liquid and debris. For optimal grill performance after cleaning, apply high-temperature cooking oils to protect the surface. Finally, wear disposable gloves and store all items in a dedicated cleaning kit for next use. The kit also includes a cleaning brush handle for comfortable, ergonomic use.

STAINLESS STEEL BLADE: 6-inch blade easily cuts through burnt-on food, grease, and grime with minimal effort

KEEP YOUR GRIDDLE CLEAN & READY TO USE: Blackstone griddle scraper is a useful tool for removing any titbits of food or grease with fewer scrapes so you can clean with minimum efforts
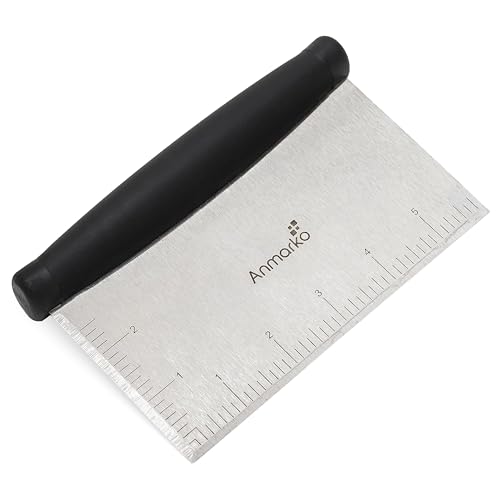
Bench scraper - is good for cutting cookie dough and pastry dough sectioning pie crusts, chopping salad and vegetables as well as griddle grill accessories for your home kitchen or backyard barbecue .
Deep‑Clean Techniques: Baking Soda, Soap, and Griddle Liquid
Three proven methods—baking‑soda paste, soap‑and‑hot‑water, and griddle‑liquid spray—cover every deep‑clean scenario on a flat‑top grill. For long‑term maintenance, start by mixing baking soda with water into a thick paste, spread it over cooled grease, let it sit 15‑30 minutes, then scrub with a medium‑duty pad in overlapping strokes before rinsing with 120°F water from back to front. For seasonal cleaning, heat the grill to medium for ten minutes, apply dish soap, scrape debris into the chute, and scrub with a green scouring pad or wire brush; dry immediately to prevent rust. Finally, spray griddle liquid on a warm surface, let foam dwell five to ten minutes, agitate stubborn spots, and rinse thoroughly with a hot‑water wand, then wipe dry and oil lightly. Regular maintenance with these techniques helps prevent food residue buildup, which can compromise cooking performance. Consistent cleaning schedules reduce downtime and keep the grill operating at peak performance.
Choosing Safe Cleaners & When to Use Griddle Liquid
When you pick a cleaner for your flat‑top grill, prioritize mild dish soap or stainless‑steel‑safe chemicals, and keep abrasive and acidic agents out of the mix. Use a warm‑water sponge to spread the soap, then rinse and dry the surface thoroughly before any oiling. For chrome or blackstone griddles, avoid scouring pads; a gentle scrub with a wet sponge suffices. If you need extra degreasing, mix lemon juice, dish soap, and ice water, apply with a cloth, and rinse promptly to protect the seasoning. After the grill is completely dry, employ proper application techniques: drizzle a thin layer of high‑smoke‑point oil, spread evenly, and heat to 350 °F for 30 minutes. This thin oil film prevents rust without creating sticky residues. Just as selecting the right wood pellet types enhances smoking results, choosing appropriate oils with proper burn characteristics ensures optimal griddle maintenance. Disconnect the griddle from the power source before beginning any cleaning to avoid electrical hazards.

Cleans, polishes & protects stainless steel: Our stainless steel cleaner for appliances removes fingerprints, grease, residue, and water spots. Weiman appliance wipes leave a streak-free shine and a protective barrier that helps prevent future smudges.

Cleans, polishes & protects stainless steel: Our stainless steel cleaner for appliances, which won a 2026 Good Housekeeping Cleaning Award, helps clean delicate, hard-to-clean surfaces. This appliance cleaner removes grease, fingerprints, water spots and residue while restoring a polished, like-new shine.
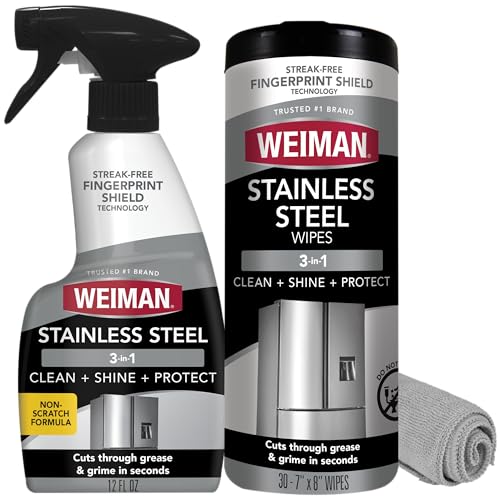
Cleans, polishes & protects stainless steel: Our stainless steel cleaner for appliances removes fingerprints, grease, residue, and water spots. This kit includes spray, which won a 2026 Good Housekeeping Cleaning Award, cloth & appliance wipes that leave a streak-free shine and a protective barrier that helps prevent future smudges.
Tackling Stubborn Rust: Brushes, Sandpaper, and Post‑Removal Seasoning
If rust has taken hold on your flat‑top grill, you’ll need a systematic approach that combines scraping, scrubbing, and sanding before you can restore the seasoning. Begin with a metal brush selection that removes large debris and residual grease; a steel wool or green scouring pad works well after applying a vinegar dilution ratio of 1:1 (vinegar to water). Spray the solution, let it sit, then scrub aggressively to loosen rust. For stubborn spots, switch to a wire‑cup brush on an angle grinder or medium‑grit wet‑or‑dry sandpaper, using 180‑grit for edges and curves. Rinse, dry thoroughly, and immediately season with a thin coat of high‑smoke‑point oil, heating to burn off. Repeat 2‑3 times for a durable, rust‑free surface. Keeping the griddle dry and oiled after each use helps prevent future rust formation. Regular maintenance and oiling of your grates are essential for preventing rust and extending the life of your cooking surface.
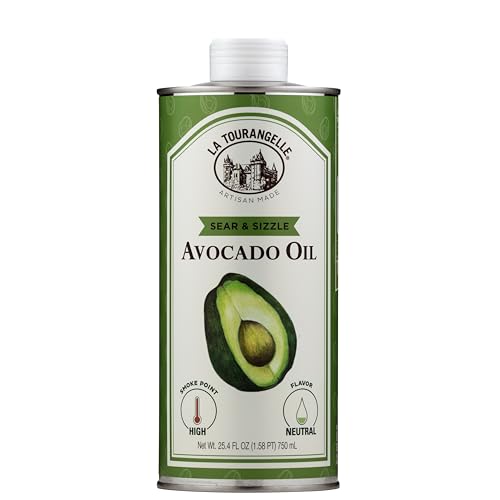
Healthy High Heat Oil: Expeller-pressed from fresh avocados and protected in our iconic light-blocking tin, this smooth, neutral oil preserves freshness and flavor. Fire up the grill, sear the perfect steak, or master a golden, crispy fry — all without losing the natural taste of your ingredients. With a high smoke point and everyday versatility, Sear & Sizzle should be every kitchen’s secret weapon.
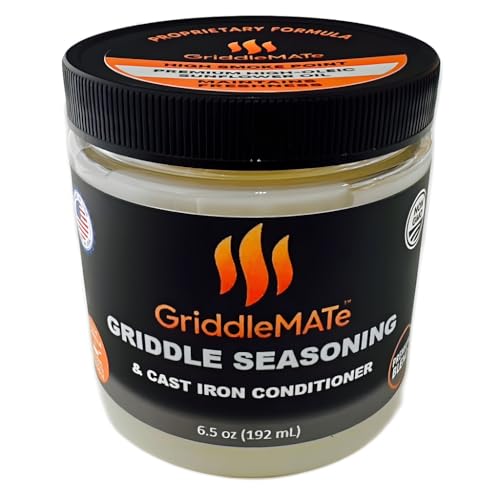
PROPRIETARY FORMULA - Crafted with a unique blend of high-quality ingredients, this proprietary formula is designed to deliver superior seasoning and long-lasting protection for your griddle or cast iron.

PROPRIETARY FORMULA - Crafted with a unique blend of high-quality ingredients, this proprietary formula is designed to deliver superior seasoning and long-lasting protection for your griddle or cast iron.
Heat‑Based Sanitizing: Burn‑Off Residue & Cool‑Down Best Practices
A quick, high‑heat burn‑off is the most efficient way to sanitize a flat‑top grill and eliminate lingering residue. Turn the burners to a very hot setting, aiming for at least 300 °F when the mess is heavy. While the surface stays hot, scrape with a metal spatula, applying steady pressure for 10‑15 seconds on stubborn spots. The heat releases embedded food debris and prevents oil consistency control from becoming gummy. After scraping, slowly pour warm water onto the hot plate; the steam lifts remaining grease and loosens stuck material. Work from back to front, then let the steam die before continuing. Shut off the burners, let the grill cool for ~30 minutes, and dry it completely with paper towels, scraping the towels to avoid moisture that could cause heat induced deformation. For long‑term maintenance, complement heat‑based sanitizing with routine maintenance to keep your grill performing optimally. Regular cleaning prevents food buildup and keeps the grill surface in good condition.
Seasoning After Cleaning: Oil Types, Layers & Smoke Test
After you’ve stripped the grill clean, you’ll want to build a durable, non‑stick surface by seasoning it with the right oil, applying thin layers, and confirming the finish with a smoke test. Choose an oil that matches your heat plan: flaxseed for polymerization, avocado for high‑heat durability, or canola/vegetable as affordable alternatives. Light olive oil works for medium heat, but avoid butter, lard, or extra‑virgin olive oil. Apply a thin coat while the surface is warm, spread evenly with a paper towel, then let it smoke off completely before the next coat. Build three to five coats initially; each should produce a brief, controlled smoke. Perform a smoke test by heating to medium‑high until the oil darkens and no white smoke remains, confirming a solid, black patina. Using a thin coat is essential to prevent crust formation and flaking. For those seeking to enhance their grilling experience, consider how smoke box capabilities can complement your seasoning efforts by adding authentic smoke flavor during cooking.
Fix Warping, Residue & Uneven Heat
You’ll notice warping, residue, and uneven heat often stem from rapid temperature changes and uneven burner use. To halt performance degradation, preheat all burners on low for five minutes, then raise to medium for ten, keeping the surface level. If warping appears, run every burner on high for 20‑30 minutes to equalize temperature and relieve thermal stress; significant distortion may require plate replacement. Scrape residue while hot with a metal scraper, then mist a little warm water to loosen stubborn bits—avoid large water dumps that cause shock. Distribute heat evenly by using all burners, even for small meals, and limit preheat time to fifteen minutes. Proper heat distribution across your cooking surface is essential for achieving consistent results across different meal sizes. These practices preserve flatness, prevent uneven heating, and extend lifespan. Thin gauge steel is especially prone to warping under these conditions.