Pat the tomahawk dry, season it with kosher salt, cracked pepper, garlic, and herbs, then refrigerate 24 hours for a dry brine; pull it out 1½‑2 hours before cooking to reach room temperature and coat lightly with beef tallow. Set your gas grill with a hot direct zone (500‑600 °F) and a cooler indirect zone (225‑300 °F). Sear each side 3‑5 minutes, flip frequently for grill marks, then move the steak to the indirect zone and cook low‑and‑slow until the internal temp hits about 115 °F. Crank the grill back up, sear quickly 60‑90 seconds per side, baste with garlic‑butter, and rest briefly before slicing. Continue for, and’ll master the perfect crust and doneness.
Preparing the Tomahawk: Dry, Season, and Bring to Room Temperature
Start by drying the tomahawk: pat it thoroughly with paper towels, then place it on a wire rack over a baking sheet and refrigerate exposed for 24 hours. This step drives the surface to the ideal moisture content, verifying a robust Maillard crust. After the dry‑age, season generously with kosher salt and freshly cracked black pepper; the salt creates a dry brine that draws out moisture then reabsorbs it, deepening flavor. Sprinkle minced garlic, chopped rosemary, or thyme—beneficial flavor enhancers that infuse aromatic notes during cooking. Finally, remove the steak from the fridge 1.5–2 hours before grilling, letting it reach room temperature while you slather a thin layer of beef tallow. This guarantees even heat penetration and eliminates a cold center, setting the stage for perfect searing. Using a quick-read meat thermometer during cooking will help you achieve your desired internal temperature. The bone‑in nature of the tomahawk adds extra flavor as the bone releases its own unique juices during cooking.

High Smoke Point – Ideal for searing, frying, grilling, and smoking without burning or breaking down.
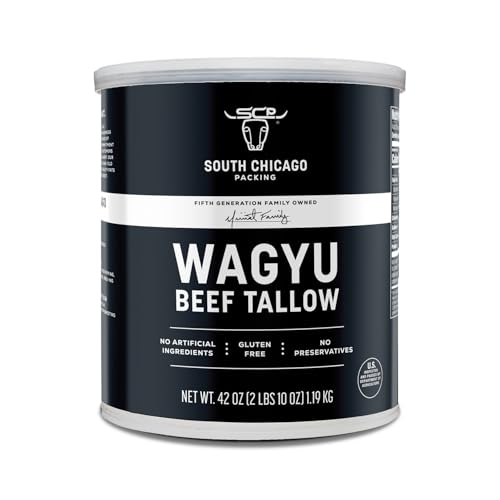
100% Pure Wagyu Beef Tallow: Made from premium, high-end Wagyu cattle, this single-ingredient cooking fat delivers exceptional flavor and performance with no fillers, additives, or blends

Multi-Use and Versatile: Suitable for high-heat cooking including frying, roasting, and sauteing with a high smoke point of 450F, plus DIY skincare and crafts like balms, soaps, lotions, salves, and candle making
Setting Up Your Gas Grill: Direct and Indirect Heat Zones
A well‑balanced grill setup gives you a scorching direct‑heat zone for searing and a gentler indirect‑heat zone for finishing, and you can create it in minutes by lighting only the burners you need. Open the lid, guarantee all knobs are off, then open the propane valve fully and wait a minute. Light the leftmost burners one by one, leaving at least one burner off to form the indirect zone. This approach of using fewer burners is a practical approach for cooking smaller meals while maintaining effective temperature control. Close the lid and preheat for 15 minutes until the grill surface temperature reaches 500‑550°F. Adjust the knobs to maintain a direct zone of 500‑600°F and a cooler indirect zone warmed by radiant heat. Use the lid and top vents to stabilize zone temperature management, keeping the indirect side evenly heated for the tomahawk’s finish. Place food right over the flames for a quick sear before moving it to the indirect side.

Designed for Outdoorsmen: Make your outdoor cooking sessions more enjoyable and cook like a pro with the Gas One outdoor burner propane! Our single propane grilling side burner is durable, reliable and safe, making cooking more enjoyable during your outdoor adventures!
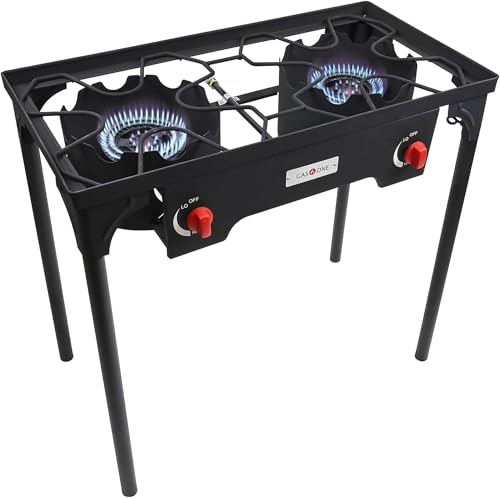
PROPANE DOUBLE BURNER FOR OUTDOOR COOKING - Equipped with two burner heads, Gas One’s Double Burner provides extreme heat for various different cooking scenarios. From tailgating to catering, this burner stands out for those looking for a little more range in their heat

COOKING SYSTEM: With the power of liquid propane this Portable Gas Grill is convenient and versatile
Initial High‑Heat Sear (3‑5 Min per Side)
When the grill reaches a blistering 450‑500 °F, place the seasoned tomahawk directly over the hottest burners and let it sear for 3‑5 minutes on the first side, watching for a deep crust that releases easily from the grates. After 2.5 minutes, rotate the steak 90° for authentic grill marks, then flip using long‑handled tongs. Begin the second side with the same 3‑5‑minute window, maintaining perfect timing by checking the crust’s release and color. Throughout, practice proper repositioning: flip every 30‑60 seconds, keep the lid open, and oil the edges briefly with tongs. Use an instant‑read thermometer to monitor internal rise, and wrap the exposed bone in foil to prevent burning. Similar to grilling other proteins, keeping the lid closed helps maintain consistent heat for more even cooking. This disciplined sear locks flavor before the low‑and‑slow phase. Searing first helps hold in the juices while finishing cooking the meat.

PREMIUM BUILT KITCHEN ESSENTIAL: These stainless steel tongs are a must-have for any kitchen, indispensable for flipping, turning, and transferring food while grilling, cooking, and serving.

【Multifunctional】Tongs for cooking,Our clips are good at turning and transferring whole steaks, meats, fish,burgers, eggs, hot dogs,breads,pancakes,bacon,pizza,desserts,like Mexican pancake,Brazilian barbecue,Italian steak.
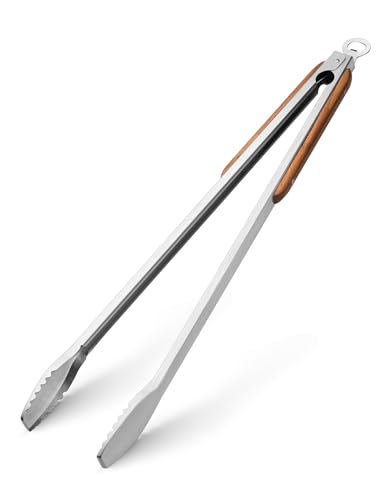
25" Long Grill Tongs: These 25” long grill tongs are tough and heat-resistant with an extended length so you can easily reach the food while keeping your hands from the heat.
Switch to Low‑and‑Slow Indirect Cooking (Target 115 °F)
After the sear, you’ll move the tomahawk to the indirect zone and lower the grill to a gentle 225‑300 °F, keeping the lid closed so the heat circulates like an oven. Set the outer burners to medium‑low, close the lid, and place a drip pan beneath the steak to catch juices. The closed lid creates effective heat distribution, turning the grill into an outdoor oven that bathes the meat in uniform convection. Rotate the steak halfway if you have a two‑burner layout to guarantee even cooking time across the thick cut. Maintain a stable temperature between 225 °F and 300 °F, resisting the urge to lift the lid, and let the low‑and‑slow method tenderize the connective tissue while preserving moisture. Use a reliable thermometer to monitor the internal temperature and ensure optimal doneness. Low‑and‑slow cooking is ideal for large, tough cuts that need gradual heat to become tender.
Monitoring Internal Temperature of Your Tomahawk Steak
How do you know when your tomahawk reaches perfect doneness? Use continuous temperature monitoring with a reliable meat probe. Insert the probe into the thickest part of the steak, avoiding the bone, to capture the true core temperature. Aim to pull the steak 5 °F below your target—115‑125 °F for rare, 125‑130 °F for medium‑rare, 130‑140 °F for medium, and 140‑150 °F for medium‑well. At 225 °F indirect heat, the steak will reach those pull points in roughly 45‑60 minutes. Keep a digital instant‑read thermometer handy for spot checks, but let a Bluetooth‑enabled device track the curve continuously. For best results, sear your steak on high heat before moving to indirect heat to develop a flavorful crust. Once you hit the pull temperature, tent the steak with foil and rest 5‑10 minutes; the carry-over cooking will bring it to the final doneness. Use a high‑quality steak to ensure optimal flavor and texture.
Final High‑Heat Sear for Your Tomahawk Steak (Build the Crust)
A few minutes of blistering heat turns a perfectly cooked tomahawk into a masterpiece; crank the gas grill to a screaming‑hot 500‑600 °F zone, dry‑pat the steak, brush it lightly with high‑smoke‑point oil, and then sear each side for 60‑90 seconds while flipping every 20‑30 seconds.
Start with the bone side away from direct flame, then move it to the hottest zone for the final sear. Flip precisely every 20‑30 seconds; this rapid cadence lets you make sear sequence adjustments on the fly, preventing uneven char and preserving interior doneness. While the steak sizzles, baste continuously with garlic‑butter to deepen caramelization. Monitor crust color; a deep mahogany hue signals ideal crust quality outcomes. Once both faces display a uniform, crispy crust, remove the steak and let it rest for 5‑15 minutes before serving to retain its juices and complete the cooking process.
Tomahawk steak typically feeds at least two people.
Resting the Steak: Tent, Time, and Temperature Rise Explained
The sear has locked in flavor, now let the steak rest so the juices can re‑absorb and the temperature can even out. After searing, move the tomahawk to a cool side of the grill and shield it loosely with foil for an intermediate resting technique. This tent protects the surface while allowing a 5‑10 minute rest; during this period, internal temperature will climb about 5 °F. Use mid‑cook temperature monitoring to confirm the center has dropped to 95‑100 °F before the final sear, then pull at 117 °F for a rare‑medium‑rare finish. After the sear, rest exposed for five minutes; the carry‑over heat will raise the steak to 130‑135 °F, delivering a perfectly tender, juicy bite. The reverse‑sear method typically takes 1‑1.5 hours total cooking time.
Slicing and Serving: Cut Against the Grain and Plate Like a Pro
After the steak has rested, slice it against the grain to maximize tenderness and present it like a chef. Begin with grain identification: examine the uncooked surface, locate the white connective‑tissue lines, and note the direction that runs lengthwise along the muscle bundles. Then apply a precise cutting technique. Position a sharp knife parallel to the desired slice path, angle it about 45°, and execute clean downward strokes perpendicular to the grain. This shortens muscle fibers, yielding a tender bite. For optimal results, allow carryover cooking to complete before slicing to ensure the juices redistribute throughout the meat. Trim excess fat and remove the rib bone, then arrange uniform slices on a platter, keeping the bone visible for visual impact. Finish with a drizzle of compound butter or a simple garnish for a professional presentation. Cutting against the grain ensures the meat is easier to chew.